Display
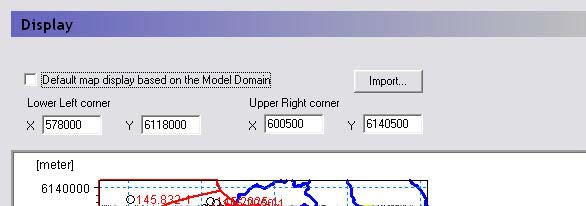
From this dialogue and data tree branch, you can control the map overlays and size of the map view in the rest of the dialogues.
In any map view in the Setup Data tab, you can right click and chose Zoom In from the pop-up menu. The enlarged view of your map is persistent across all of the map views in the Setup Data tab, as well as to the Processed Data tab.
Also, in the right click pop-up menu is a Zoom Extents function, which zooms the map view out to the full extents. By default, the maximum extents of the map view in the MIKE SHE dialogues is set to the size of the model, as defined in the Model Domain and Grid dialogue. However, un-checking the checkbox,

you can choose to set the lower left and upper right coordinates of the maximum extents of the map view.
Import
The Import button allows you to read the coordinate extents from a map file, such as a .dfs2 file or a .shp file.
Note
The correct display of overlays requires that your Color Settings (found in your computer’s Display Properties dialog) are set to Highest (32-bit). If your computer is set to 16-bit colours, a warning message will appear. This is not normally a problem, except that some display devices, such as older data projectors, will automatically reset your colour settings.
Related Items:
1. Foreground/Background
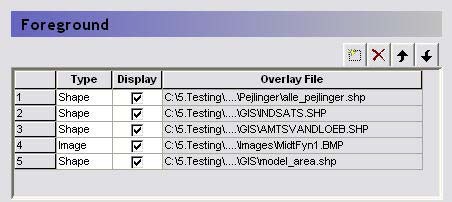
The Foreground and Background items are used to add map overlays to the map view. The table gives you an overview of the defined overlays and allows you to add, delete and hide overlays.
The order of the overlays in the list controls to some extent the way the overlays are displayed. Furthermore, the Foreground/Background choice determines whether the overlays are displayed in front of or behind the current grid, which in turn controls the way the colours etc. are displayed. The best way to understand the way the overlays are displayed, is to simply play around with a model and some maps to see how the display changes when the map is placed in the foreground vs background, or the order is changed.
The available map types includes:
- ESRI shape (.shp) files,
- Grid (.dfs2) files,
- Image (.bmp, .gif and .jpg) files,
- MIKE Hydro River (.mhydro), and
- MIKE SHE well database (.wel) files.
2. Image Overlays
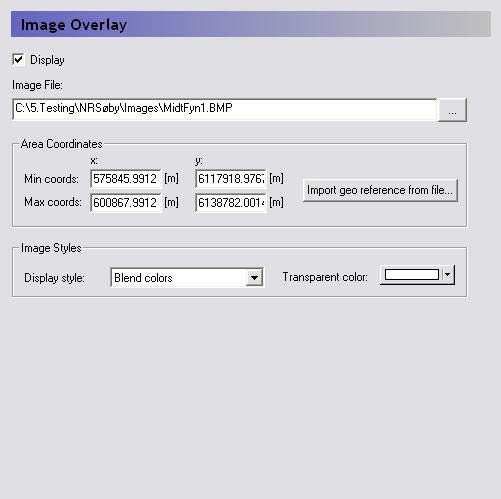
If you want to display a background image in your map view, then you should add an Image overlay. The available image formats include: .bmp, .gif and .jpg.
Area Coordinates
Since image files do not contain geographic information, you must specify the spatial location of the image. This is done by specifying the map coordinates of the lower left corner of the image (Minimum X and Y) and the upper right corner of the image (Maximum X and Y).
Import geo reference from file...
Some DHI programs allow you to geo reference an image file, in which case either a .bpw or a .bmpw file is created that contains the origin coordinates and some scaling information.
Image Styles
The Image Style is related to the way the pixel colours are averaged (or not averaged) in overlying grids and images. The Image Style variables have little influence on the image display when the image is displayed in the Background. However, in the Foreground, the Image style is very important. The best results are obtained with the Blend Colours selection., in which case the Transparent colour option is not used.
3. Grid Overlays
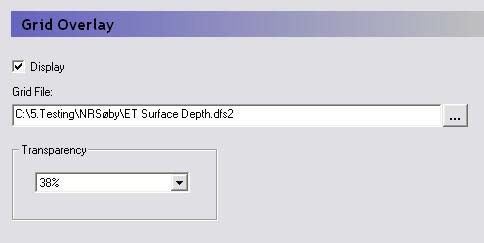
If you want to add a static .dfs2 grid on the map view, then you should add a Grid Overlay. If you add a time varying .dfs2 file the program will not object, but only the first time value will be displayed. If you add a .dfs2 file containing multiple items, such as a results file, you can select the grid item to display from within the file browser.
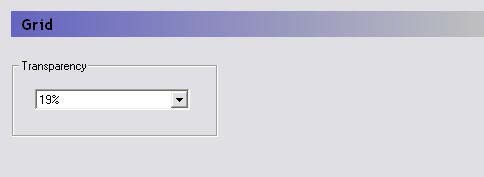
Transparency
This is used to control the way pixel colours are averaged for displaying images that overlay one another.
4. Shape Overlays

If you want to add an ESRI shape (.shp) file to the map view, then you must select a Shape overlay.
Shape File and Item
In the file browser dialogue you can select from the available items in the .shp file.
Parameters for Points
This section allows you to customize the way point .shp themes are displayed.
Parameters for Lines and Polygons
This section allows you to customize the way line and polygon themes are displayed.
Units
The ESRI .shp format does not include information on whether the length units are SI or Imperial. So, this combo box allows you to select the length units from a range of SI and Imperial length units.
5. River Overlays
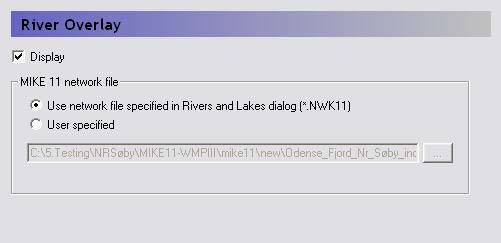
If you want to display a MIKE Hydro River network in your map views, then you can add a River Overlay. By default, the river network defined in the Rivers, Lakes and Sewers dialogue is displayed. If you would rather display a different river network, for example, an overview network with fewer branches, then you can choose User Specified and specify the river network file.
Related Items:
6. MIKE SHE Well Database Overlays
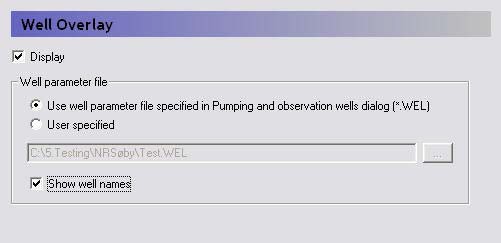
If you want to display a MIKE SHE Well database in your map views, then you can add a Well Overlay. By default, the well database defined in the Pumping Wells dialogue is displayed. If you would rather display a different well database, for example, an overview database with fewer wells, then you can choose User Specified and specify the well database file.
Show well names
This checkbox turns the well names on and off in the map view.
Related Items:
7. Current Layer
The Current Layer item refers to the grid item currently being displayed in the current map view.
Transparency
This is used to control the way pixel colours are averaged for displaying images that overlay one another.